Direct answer: Rollers are your speed tool for big flat areas; brushes are your precision tool for edges, shapes, and detail. Most murals use both—sequenced intentionally.

Quick takeaways
- Roll big fields first, then cut clean edges with brushes.
- Choose roller nap based on wall texture.
- Use smaller rollers for control on vertical designs.
- Save your best detail brushes for the last 10%.
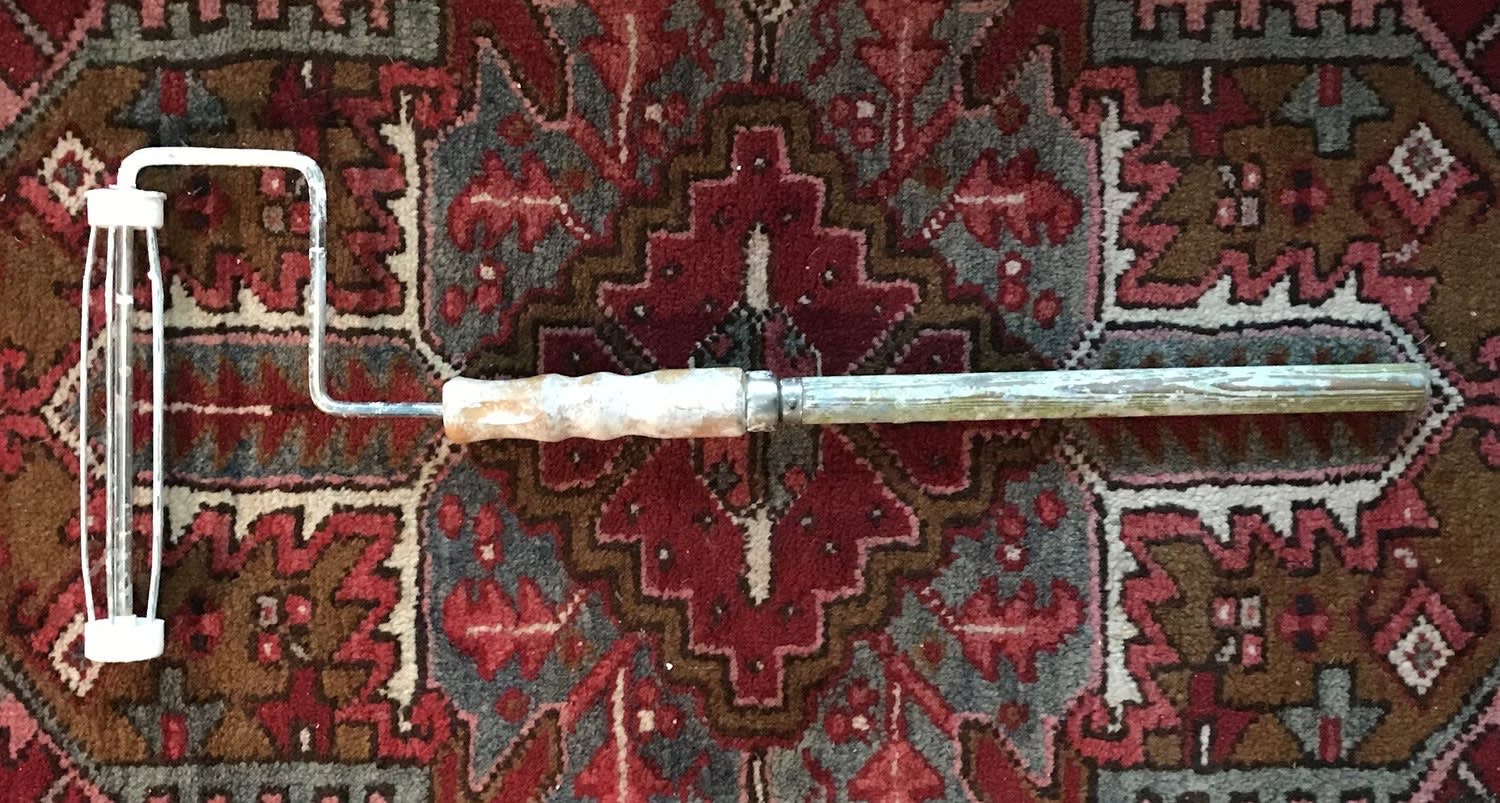
Today I want to discus how I utilize rollers to help me paint murals. It can be really nice to see the paint go up so fast and I have found that it is a great way to engage your body in the early stages of the paint process. This can come in handy especially if you are not totally sure where the project is going. There are a zillion aspects to fully comprehend the roller technique. House painters have figured out all kinds of tricks and tips over the years. I am only going to talk about the stuff I have found useful in my work.
Nap is what they call the thickness of the roller pad. Some are thick and apply extreme amounts of paint and some are very thin, subsequently applying thin doses of paint. The difference is based on how textured (or rough) the wall surface is. For example, stucco needs a very thick nap. Dry wall uses a normal–thin nap. I usually have a few of each type in one of my totes at any given time. I do not roll out walls for every job so I am not particular with the brand. Usually I just grab the value pack at my local paint store.
Most of the time I am not painting full walls but smaller sections of the wall depending on what the specific artwork calls for. For that reason I recommend getting a few of the smaller 4 and 6 inch rollers. They are great at blocking in smaller sections. You can certainly use a brush for this, but there are some great advantages to using a roller. Rollers apply a thin even coat, this can save money by not using too much paint and time by reducing the need to brush on large sections.
We recommend a 2-step system, the first being a permanent isolation coat, followed by GOLDEN MSA Varnish, a removable varnish.
— GOLDEN Artist Colors, Painting Exterior Murals, Source
Project checklist
- Match roller nap to wall texture
- Block background/fields first
- Cut edges and shapes second
- Detail pass last (tight brushes)
- Clean tools immediately after use
FAQ
What roller nap is best for textured walls?
A thicker nap can carry paint into texture, but it can also add stipple. Test on a small area to find the right balance.
Can you paint clean lines with a roller?
You can get close, but crisp edges usually need a brush or tape. Use rollers for coverage and brushes for control.
Want help with a mural in the Bay Area?
If you want a recommendation for your wall (surface prep, paint system, timeline), send photos and rough dimensions and we’ll help you scope it.
