Direct answer: A strong mural comes down to the same basics: solid surface prep, a clear layout plan, and a painting sequence that builds clean shapes before fine detail.
Quick takeaways
- Prep the wall like you mean it (clean, repair, prime).
- Transfer the design with a repeatable method (grid/projection).
- Block big shapes first; detail is the last pass.
- Protect the work when the environment demands it.
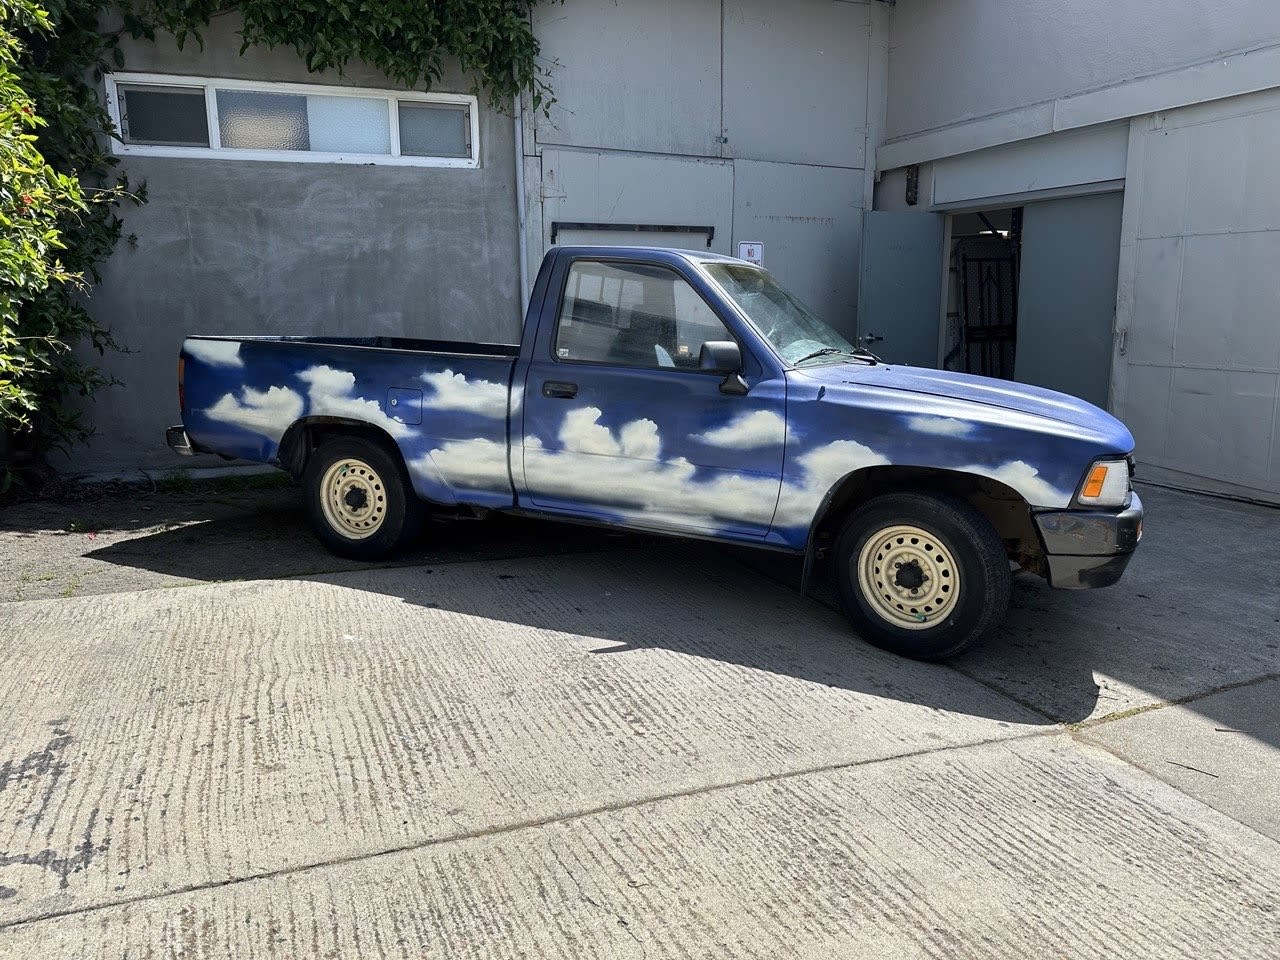
Art, like a good storm cloud, has a way of sweeping in and transforming the mundane into the magnificent. Such was the case with our latest canvas—not a stretch of wall or a slab of wood, but a sturdy, reliable 1991 Toyota pickup. Yes, you read that right: we’ve turned a functional vehicle into a roaming spectacle of sky and cloud.
This project began as a challenge and morphed into a mission: to capture the essence of the sky itself and transpose it onto a vehicle that has seen its share of sunsets. The idea? To paint realistic, fluffy white clouds against a dark, impending sky across the body of this classic truck.
We recommend a 2-step system, the first being a permanent isolation coat, followed by GOLDEN MSA Varnish, a removable varnish.
— GOLDEN Artist Colors, Painting Exterior Murals, Source
Project checklist
- Surface cleaned + primed
- Layout method chosen
- Palette tested on wall
- Painting sequence planned
- Protection/maintenance plan set
FAQ
Can you paint a mural on any wall?
Most walls can work if they’re properly prepared and the paint system matches the surface. Moisture and flaking paint are the two biggest red flags.
How do you keep the design accurate at scale?
Use a grid or projection to transfer key anchors, then check proportions early before you commit to detail.
Want help with a mural in the Bay Area?
If you want a recommendation for your wall (surface prep, paint system, timeline), send photos and rough dimensions and we’ll help you scope it.
Related reads
- Master Brush Techniques for Mural Painting in the Bay Area: Focus on Brush Wells
- J0Shtrgszvcw2O0Sftiri1N0Knvwyz