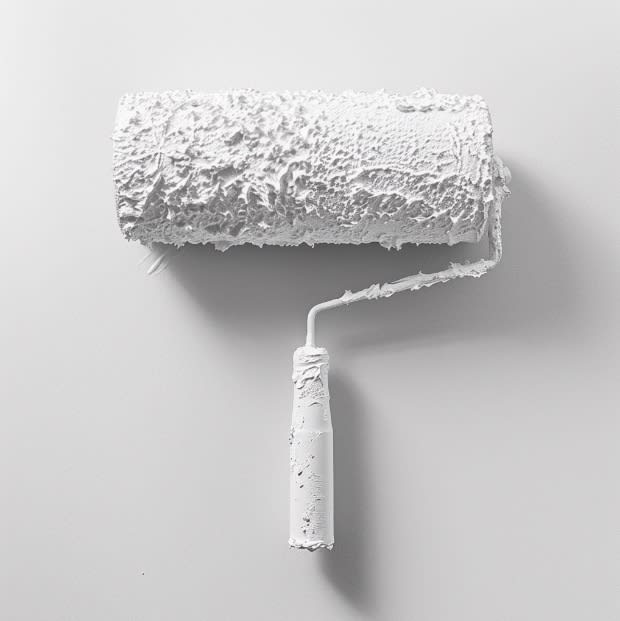
Direct answer: Rollers are your speed tool for big flat areas; brushes are your precision tool for edges, shapes, and detail. Most murals use both—sequenced intentionally.

Quick takeaways
- Roll big fields first, then cut clean edges with brushes.
- Choose roller nap based on wall texture.
- Use smaller rollers for control on vertical designs.
- Save your best detail brushes for the last 10%.
You're staring at a blank wall, armed with paints and tools, wondering where to start. Should you grab a roller or pick up a brush? It's a common dilemma, and I'm here to help you figure it out.
I've been there, standing in front of a wall, second-guessing my choice of tools. But here's the thing: both rollers and brushes have their place in mural painting. Let's break it down and see how each one can help bring your vision to life.
Rollers: The Speed Demons of Mural Painting
Picture this: you've got a massive wall to cover, and you're on a deadline. That's where rollers come in handy. They're like the sprinters of the painting world - fast and efficient.
Why choose a roller?
-
Cover large areas quickly (perfect for backgrounds)
-
Achieve a smooth, even finish
-
Easy to use, even if you're new to mural painting
But hold on, rollers aren't perfect. They're not great for detailed work, and they can be a bit clumsy in tight spaces. Plus, they tend to drink up more paint than brushes. So, use them wisely!
Pro tip: When using a roller, start with a primer. It'll make your colors pop and help your mural last longer. Trust me, your future self will thank you.
Brushes: The Detail Masters
Now, let's talk about brushes. If rollers are sprinters, brushes are the gymnasts - flexible, precise, and capable of incredible feats.
Why reach for a brush?
-
Perfect for adding fine details and intricate patterns
-
Offers better control, especially in tricky spots
-
Comes in various shapes and sizes for different effects
But here's the catch - painting large areas with a brush can feel like watching paint dry (pun intended). It takes time and patience. And if you're not careful, you might end up with visible brush strokes.
Insider trick: Choose your brush wisely. Flat brushes are great for broad strokes, while round brushes are your go-to for detailed work. It's like having the right tool for the job - it makes all the difference.
The Best of Both Worlds
Here's a secret many muralists swear by: use both! Start with a roller to lay down your background colors quickly. Then, switch to brushes for the details that make your mural come alive. It's like a tag-team effort, playing to the strengths of each tool.
Questions You Might Be Asking
"But what if I'm on a budget?"
Don't worry! You don't need top-of-the-line equipment to create a stunning mural. Focus on getting a decent roller for large areas and a few quality brushes for details. It's not about the tools - it's how you use them.
"I'm worried about making mistakes. Help!"
We've all been there. The good news? Mistakes are part of the process. Always test your colors on a small area first. And remember, paint is forgiving - you can always paint over it if needed.
"How do I avoid getting tired halfway through?"
Mural painting is a marathon, not a sprint. Take regular breaks, stay hydrated, and don't be afraid to split the work over multiple days. Your mural (and your back) will thank you.
Wrapping It Up
At the end of the day, whether you choose a roller, a brush, or both, the most important thing is that you're creating something unique. Murals have the power to transform spaces and touch people's lives. So grab your tools, trust your instincts, and start painting!
Remember, every great muralist started somewhere. So don't be too hard on yourself. Enjoy the process, learn from each stroke, and before you know it, you'll be creating masterpieces that stop people in their tracks.
Now, go forth and paint that wall! And if you have any more questions or want to share your mural adventures, drop a comment below. I'd love to hear about your experiences!
We recommend a 2-step system, the first being a permanent isolation coat, followed by GOLDEN MSA Varnish, a removable varnish.
— GOLDEN Artist Colors, Painting Exterior Murals, Source
Project checklist
- Match roller nap to wall texture
- Block background/fields first
- Cut edges and shapes second
- Detail pass last (tight brushes)
- Clean tools immediately after use
FAQ
What roller nap is best for textured walls?
A thicker nap can carry paint into texture, but it can also add stipple. Test on a small area to find the right balance.
Can you paint clean lines with a roller?
You can get close, but crisp edges usually need a brush or tape. Use rollers for coverage and brushes for control.
Want help with a mural in the Bay Area?
If you want a recommendation for your wall (surface prep, paint system, timeline), send photos and rough dimensions and we’ll help you scope it.
Related reads
- Bay Area UV Reactive Paint Murals & Signs: Transform Spaces with Nighttime Glow Art
- The Power Of Color Contrast In Sign Legibility
