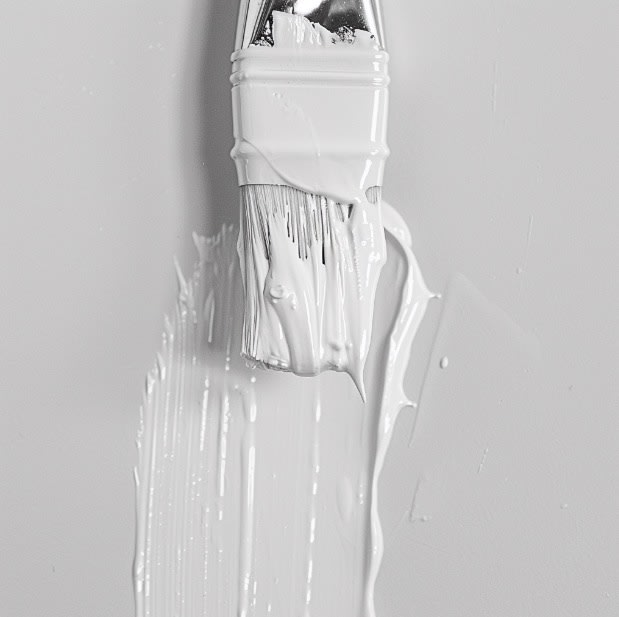
Direct answer: Ceiling murals stay clean when you control drips: protect the room, use the right roller/brush load, paint in smaller sections, and keep your body position comfortable so strokes stay consistent.

Quick takeaways
- Over-prep the floor and furniture; gravity always wins.
- Use lighter paint loads and more passes (less dripping).
- Work in small sections and keep a wet edge.
- Plan breaks—fatigue causes splatter and wobbly lines.
Let's face it - painting a ceiling is no walk in the park. But adding a mural? That's next-level stuff. If you're thinking about transforming your ceiling into a work of art, you're probably wondering how to do it without ending up with paint all over your face (and floor). Don't worry, I've got your back. Let's dive into how you can create that stunning ceiling mural without turning your room into a Jackson Pollock painting.
First Things First: Gear Up
Before you even think about cracking open that paint can, make sure you've got everything you need:
-
Ceiling paint (the good stuff)
-
Primer
-
Drop cloths (trust me, you'll need these)
-
Painter's tape
-
A sturdy ladder (wobbly ones are a no-go)
-
Paint rollers with long handles
-
Small brushes for the fiddly bits
-
Paint tray
-
Safety glasses and a mask (because nobody likes paint in their eyes or lungs)
Getting Ready: The Not-So-Fun (But Super Important) Part
I know, I know. Prep work isn't exciting, but it's the key to not hating yourself later.
Cover Everything
Seriously, cover everything. Your floor, your furniture, your pet if it won't move. Paint has a way of finding its way onto things you don't want painted.
Tape Like You Mean It
Get friendly with painter's tape. Use it where your ceiling meets the walls. It'll save you from those "oops" moments.
Give Your Ceiling a Bath
Okay, not literally. But do wipe it down. Dust and cobwebs are not part of your mural design (unless that's your thing, no judgment).
Prime Time
Priming isn't just for gym-goers. Your ceiling needs it too, especially if it's never been painted or looks like it's seen better days. Use a roller with a long handle - your back will thank you later.
Now for the Fun Part: Painting!
Choose Your Weapon (I Mean, Paint)
Go for thick ceiling paint. It's less likely to play drip-drip-drop on your head.
Roll With It
Start with a roller for the base color. Work in small sections, and don't go overboard with the paint. Think of it like spreading butter on toast - you want coverage, not clumps.
Detail Work: Time to Channel Your Inner Artist
Switch to smaller brushes for the detailed parts of your mural. Remember, less is more. You can always add more paint, but it's harder to un-paint something.
Drip-Prevention 101
Layer It Up
Think of it like dressing for winter - layers are your friend. Multiple thin coats beat one thick, drippy mess any day.
Easy Does It
When painting, channel your inner zen master. Light, easy strokes are the way to go. Pressing hard is for barbecues, not ceiling painting.
Edge Check
Keep an eye on the edges of your tools. Paint likes to build up there and cause trouble.
The Grand Finale
Once you're done, carefully peel off that painter's tape while the paint's still a bit wet. It's oddly satisfying, like peeling off a face mask.
Do a Drip Check
Give your masterpiece a once-over for any sneaky drips. You can usually fix these with a small brush once everything's dry.
Pro Tips from Someone Who's Been There
-
Paint when it's cool. Hot days make paint dry too fast and act weird.
-
Ladders are not for acrobatics. Stay safe, move it often.
-
Take breaks. Your neck will appreciate it, and you'll avoid those "why did I think this was a good idea" moments.
Wrapping It Up
Painting a ceiling mural without making a mess is totally doable. It's all about prep, patience, and maybe a little bit of yoga (for all that looking up). Take your time, follow these steps, and soon you'll have a ceiling that makes everyone go "Wow!" instead of "What happened here?"
Remember, even if your first attempt isn't perfect, that's okay. Rome wasn't painted in a day, and neither is a great ceiling mural. Happy painting, and may the drips be ever in your favor (or, you know, non-existent)!
We recommend a 2-step system, the first being a permanent isolation coat, followed by GOLDEN MSA Varnish, a removable varnish.
— GOLDEN Artist Colors, Painting Exterior Murals, Source
Project checklist
- Room masked + covered
- Ladder/scaffold positioned for comfort
- Paint load controlled (no over-saturated roller)
- Small sections + wet edge maintained
- Touch-ups planned after full dry
FAQ
What’s the #1 cause of ceiling drips?
Overloaded rollers/brushes. Load less paint and work with more controlled passes.
Do you need a specific paint finish for ceilings?
Often a lower-sheen finish hides imperfections better, but the right choice depends on lighting and whether the ceiling will be cleaned.
Want help with a mural in the Bay Area?
If you want a recommendation for your wall (surface prep, paint system, timeline), send photos and rough dimensions and we’ll help you scope it.
Related reads
- Elevate Your Bay Area Brand: Integrate Logos and Custom Murals for Impactful Visual Storytelling
- Creating Murals With Uv Reactive Paint Light Up The Night
