Direct answer: A multi‑panel mural works when you plan it like a system: a single composition split into panels with consistent scale, alignment marks, and an installation plan that keeps seams quiet and the finish durable.
Quick takeaways (panels solve problems, but add planning)
- Panels are great when you can’t paint on the wall. Limited access, weather, or business hours often make panels smarter.
- Design the seams on purpose. Hide them in low-contrast zones or turn them into part of the composition.
- Use registration marks. Alignment is the difference between “pro” and “puzzling.”
- Finish matters. Protect the surface so it can be cleaned without damage.
1) Choose the right panel approach
There are two common multi-panel approaches:
- Painted offsite, installed onsite: faster installation, better control, less disruption.
- Installed panels, painted onsite: eliminates alignment issues from trimming, but needs onsite paint access.
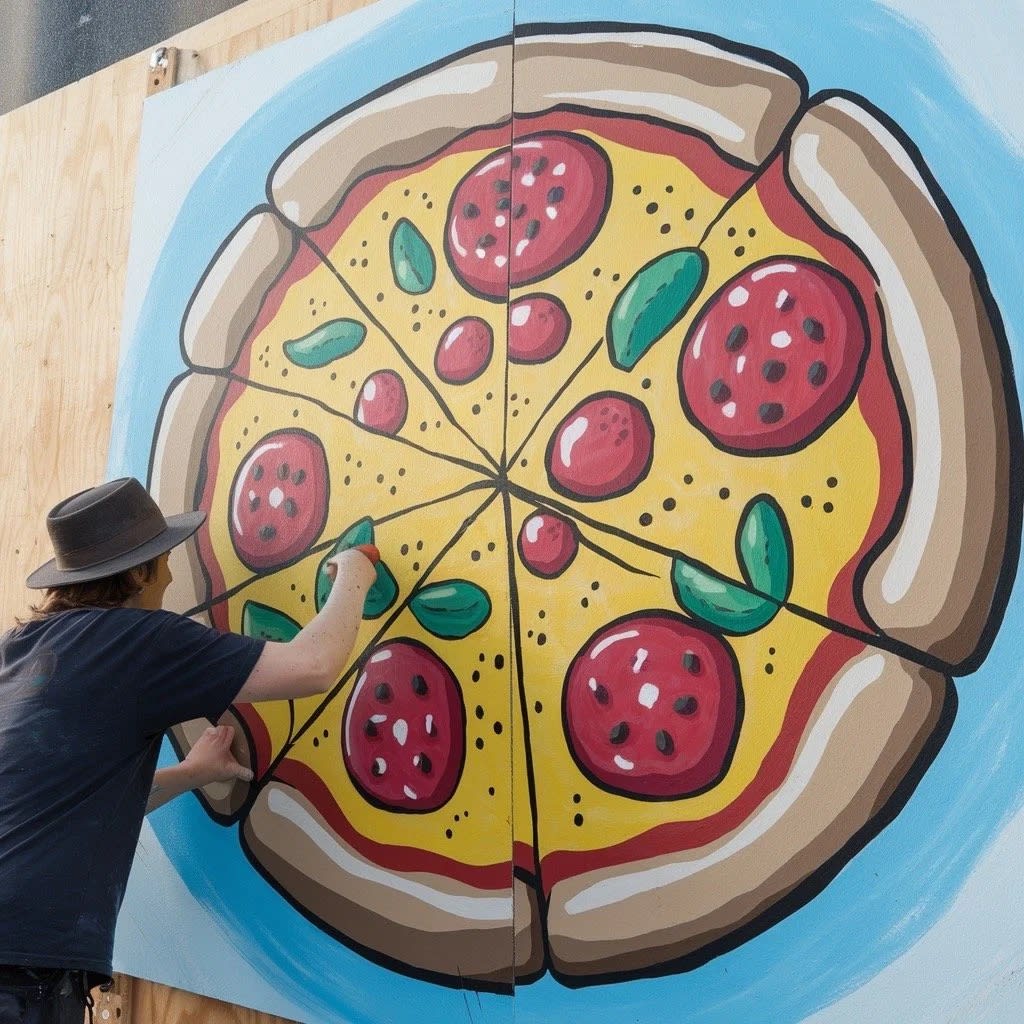
2) Plan your composition around seams
Seams are easiest to hide when they land in areas with:
- lower contrast
- less detail
- natural breaks (architectural lines, repeating patterns, color blocks)
If the design has fine lettering or faces, avoid putting seams through the most sensitive parts.
3) Use registration marks so installation isn’t guesswork
Before painting, add a few “anchors” that help panels line up:
- edge marks (top/left reference)
- a centerline grid
- overlap references that confirm scale
4) Painting + finishing on an independent support
One advantage of panels is that the mural can be completed and protected before it goes on the wall.
“Currently there are no restrictions for murals completely painted and varnished on an independent support which is then mounted onto an architectural surface.”
— GOLDEN Artist Colors, Painting Exterior Murals
Follow the panel manufacturer’s guidance for primers, topcoats, and installation adhesives/hardware.
5) Installation day: the clean, boring steps that make it look seamless
- Dry fit first: place panels without permanent attachment and confirm alignment.
- Set a level reference: one small tilt becomes obvious across multiple panels.
- Mount in a consistent order: typically center-out or left-to-right based on the design.
- Touch-up seams: small paint adjustments can make seams disappear.
Multi-panel mural checklist
- Single master composition + panel cut plan
- Seams placed intentionally (low-risk zones)
- Registration marks included
- Finish/protection plan defined
- Installation plan defined (hardware/adhesive + order + safety)
FAQ
Are panels better than painting directly on the wall?
Not always. Panels are great when access is limited or you need a fast install. Direct painting is great when the wall is ready and the site supports painting time.
How do you hide seams?
Place seams in low-contrast areas, avoid cutting through high-detail elements, and plan for small touch-ups after installation.
Want a multi-panel mural for your space?
Send wall photos and rough dimensions and we’ll recommend whether panels or direct painting is the better fit for your location and timeline.