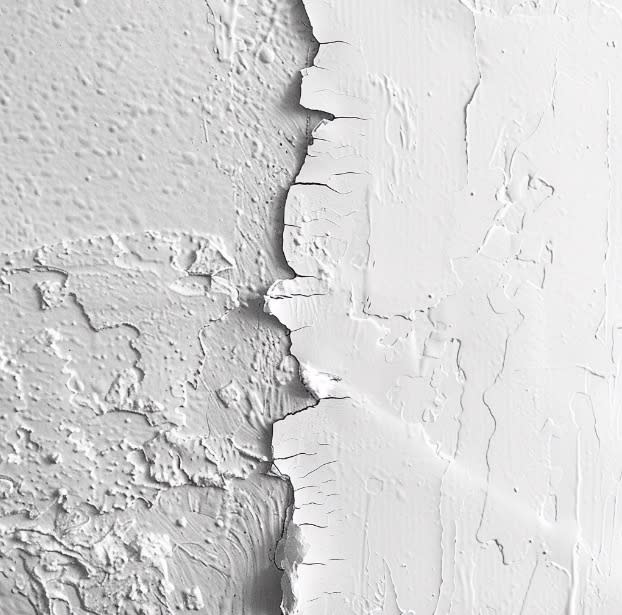
Direct answer: Textured and porous walls need extra prep: clean thoroughly, repair high spots, use the right primer/conditioner, and simplify details so the texture doesn’t fight your edges.

Quick takeaways
- Texture exaggerates wobble—make shapes bigger and cleaner.
- Primer/conditioner helps paint lay down evenly.
- Rollers can help fill texture; brushes are for edges.
- Test a small area first to confirm adhesion and sheen.
Ever stared at a blank wall and thought, "This needs some life"? Well, you're not alone. Outdoor murals are popping up everywhere, turning dull spaces into vibrant canvases. But hold up! Before you grab those paintbrushes, there's a crucial step you might be tempted to skip: priming. Yeah, I know, not the most exciting part. But trust me, it's a game-changer.
Why Bother with Primer?
Think of primer as your mural's best friend. It's like that dependable pal who's got your back when things get tough. And let's face it, outdoor murals face some pretty tough challenges: scorching sun, unexpected downpours, and maybe even a snowstorm or two. A good primer helps your masterpiece stick around longer, fighting off peeling and fading like a champ.
So, What Are Your Options?
Alright, let's break down the primer possibilities. It's not as complicated as it sounds, I promise!
1. Acrylic Primers: The Jack-of-All-Trades
Acrylic primers are like that easygoing friend who gets along with everyone. They work well on all sorts of surfaces – brick, stucco, you name it. Plus, they're water-based, so cleanup is a breeze. No need for fancy chemicals here; just some good old H2O will do the trick.
Pros:
-
Dries faster than you can say "mural"
-
Easy cleanup (hello, lazy artist's dream!)
-
Plays nice with most surfaces
Cons:
-
Not as tough as some other options
2. Oil-Based Primers: The Tough Guy
If your wall's seen better days, oil-based primers might be your go-to. They're like that friend who's always ready for a challenge. Got stains? Old, beat-up surface? No problem. These primers stick like glue and cover up a multitude of sins.
Pros:
-
Tough as nails
-
Sticks better than your favorite playlist
Cons:
-
Takes its sweet time to dry
-
Cleanup's a bit of a pain (you'll need some solvents)
3. Masonry Primers: The Specialist
Got a concrete or brick wall? Meet your new best friend: masonry primer. It's designed specifically for these porous surfaces, sealing them up tight. Many even come with mold and mildew fighters built in – pretty nifty for outdoor use, right?
Pros:
-
Seals porous surfaces like a pro
-
Often comes with mold-fighting superpowers
Cons:
-
Might have some harsh chemicals (always check the label!)
Making the Right Choice
Okay, so how do you pick? Here's a quick checklist to help you out:
-
What's your wall made of?
Brick or concrete? Masonry primer's your guy. Wood or metal? You might need something more specialized. -
What's the weather like in your area?
Lots of rain? Look for something moisture-resistant. Blazing sun? UV-resistance is your friend. -
Feeling eco-friendly?
Check out low-VOC options. They're kinder to the environment and your lungs. -
How are you applying it?
Brush, roller, or spray? Think about what works best for your mural size and your patience level.
Prep Work: The Unsung Hero
Before you start slapping on that primer, give your wall some TLC. Clean it up, patch any holes, and smooth out those rough spots. It's like prepping for a first date – a little effort goes a long way!
Top Tips for Priming Success
-
Read the instructions. I know, I know, but seriously, each primer has its quirks.
-
Don't be stingy. Sometimes one coat just isn't enough.
-
Patience is a virtue. Let that primer dry completely before you start your masterpiece.
Wrapping It Up
Choosing the right primer might not be the most thrilling part of creating an outdoor mural, but it's the foundation that'll keep your art looking fresh for years. Take your time, pick the right one, and your future self will thank you. Who knows? Your mural might just become the talk of the town!
So, ready to prime? Go on, give that blank wall the glow-up it deserves!
We recommend a 2-step system, the first being a permanent isolation coat, followed by GOLDEN MSA Varnish, a removable varnish.
— GOLDEN Artist Colors, Painting Exterior Murals, Source
Project checklist
- Clean + de-dust the wall
- Repair chips and high points
- Prime/condition for porosity
- Block large shapes before detail
- Choose a finish suited to cleaning
FAQ
Can you paint fine detail on textured walls?
Yes, but it’s harder. Increase scale, simplify edges, and use the texture as part of the style instead of fighting it.
Why does the paint look patchy on raw walls?
Porous surfaces absorb unevenly. A primer/conditioner evens out absorption so the topcoat reads consistently.
Want help with a mural in the Bay Area?
If you want a recommendation for your wall (surface prep, paint system, timeline), send photos and rough dimensions and we’ll help you scope it.
Related reads
- Expert Troubleshooting for Mural Painting in the Bay Area: Solutions for Uncommon Sign-Making Issues
- Masking Tape Magic Creating Clean Edges In Bay Area Murals
