Direct answer: A strong mural comes down to the same basics: solid surface prep, a clear layout plan, and a painting sequence that builds clean shapes before fine detail.
Quick takeaways
- Prep the wall like you mean it (clean, repair, prime).
- Transfer the design with a repeatable method (grid/projection).
- Block big shapes first; detail is the last pass.
- Protect the work when the environment demands it.
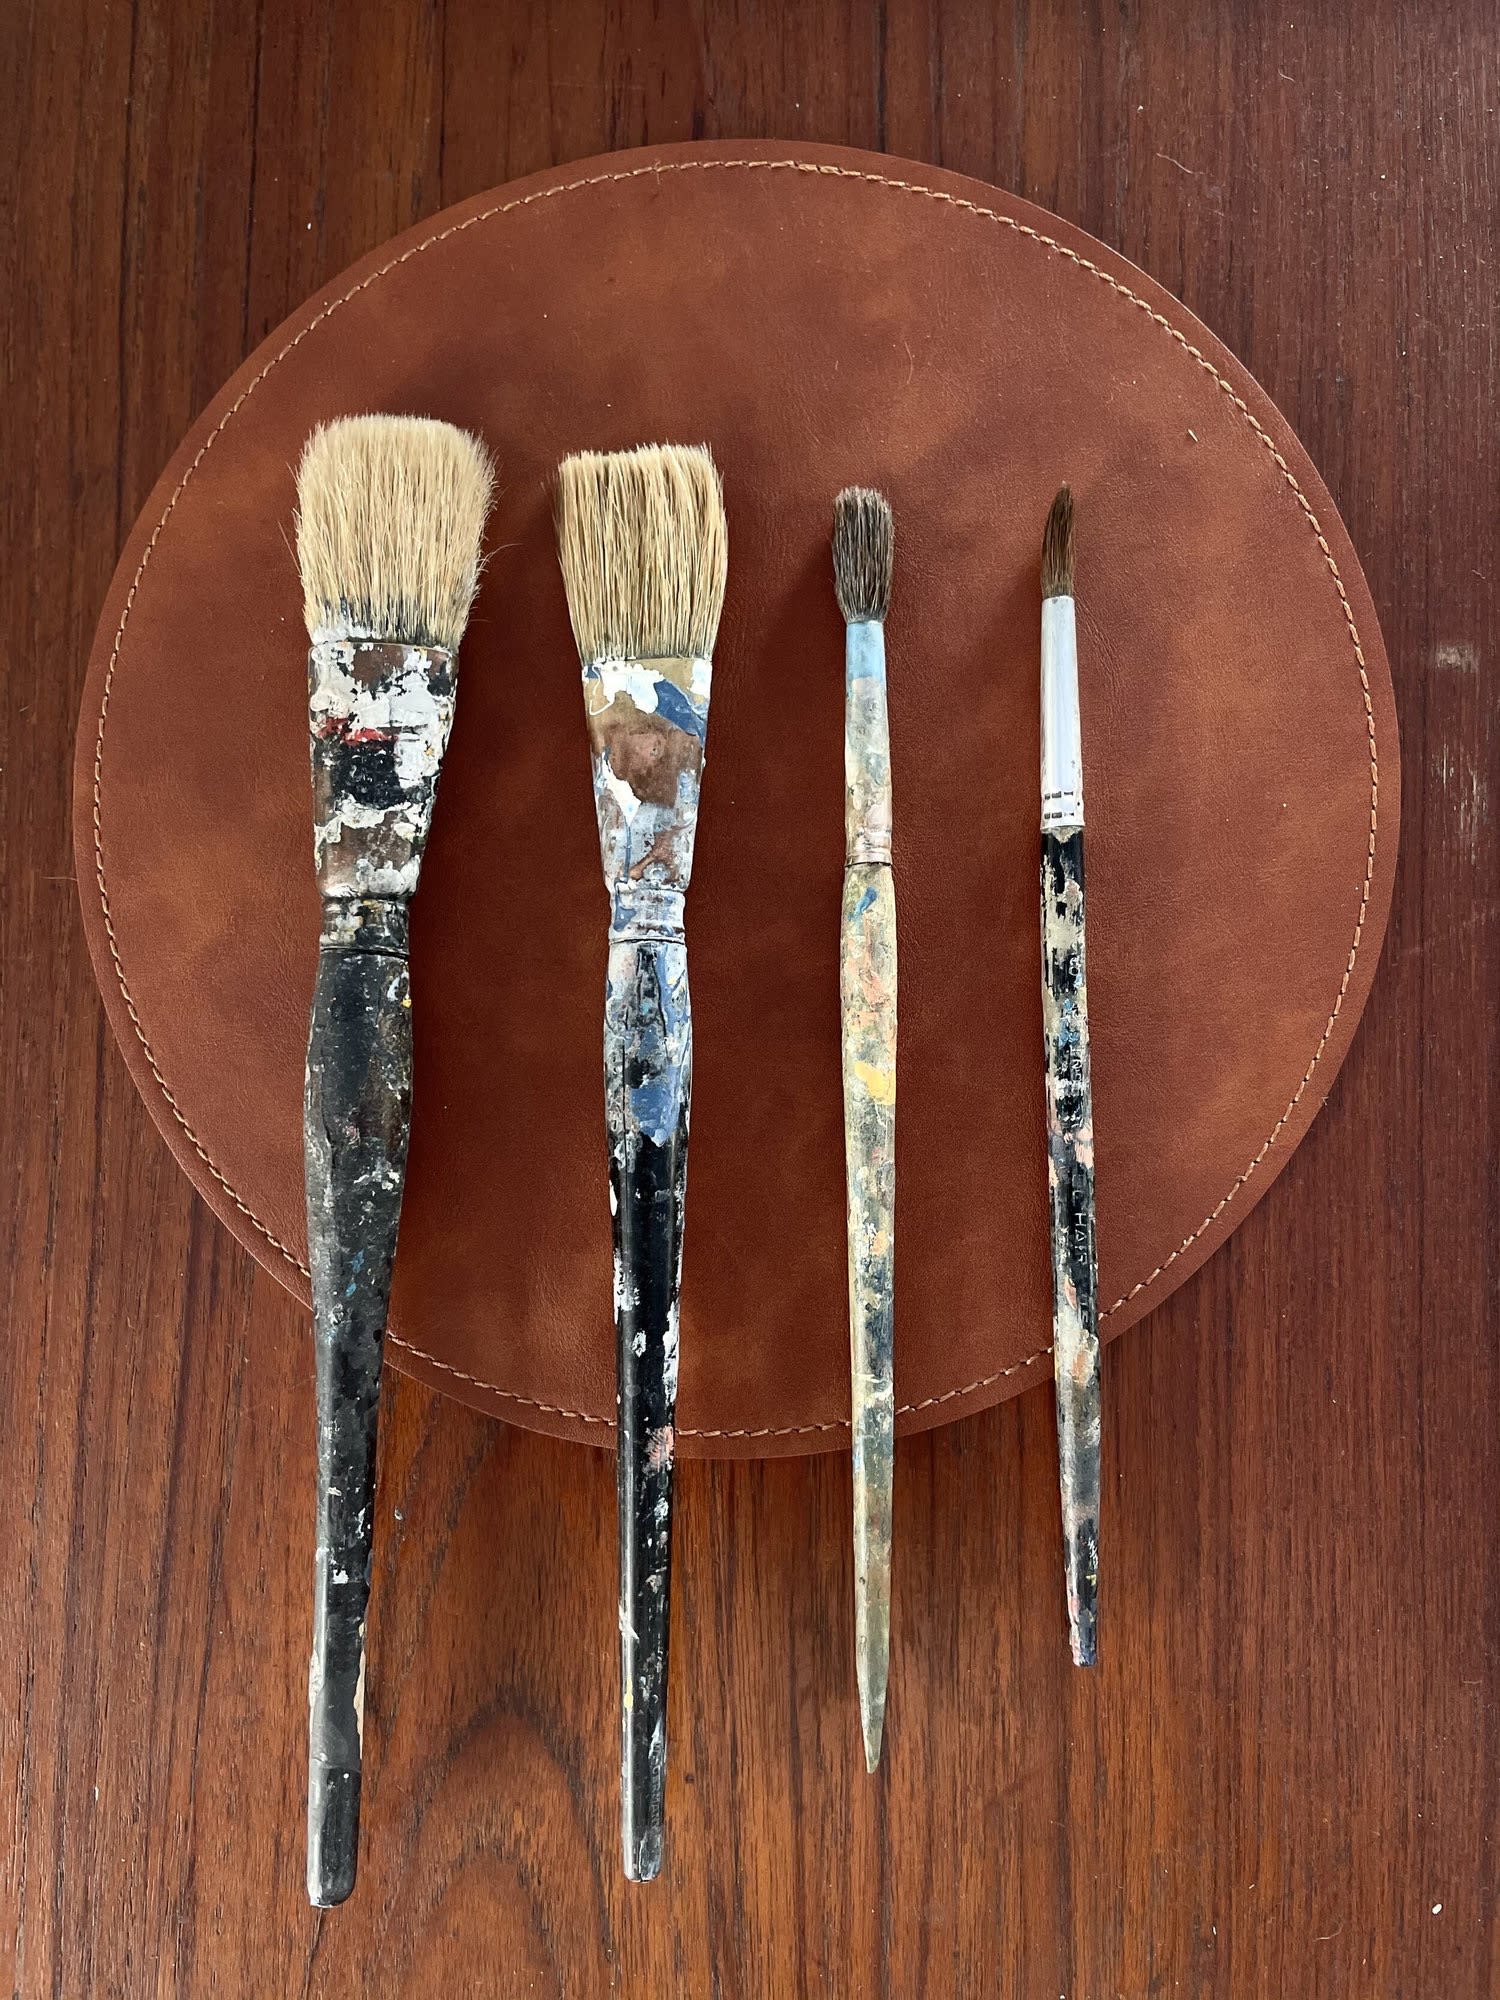
At one point in our collective history the most advanced way of applying paint to a surface was the simple finger. Nowadays we have about a zillion different methods. In this post I am going to briefly discuss one of these methods, the bristle. Specifically I will discuss how I use brushes to achieve sharp edges on large scale logos and murals.
Painting “freehand” on a wall is very tricky and can take years to master. For me it all depends on the relationship between paint consistency, bush design and wall texture. The important factor for brush design is that the brush holds a lot of paint in the bristles, holds them predictably and releases them reliably.
First I load the brush with paint. Then scrap some paint out of the well and feel the brush for weight. At this point I have a good understanding of where the paint is sitting in the brush. The next bit is the tricky part. Slowly I pull the brush toward the marked line and watch as the paint flows. If too much pressure is applied it will bleed, not enough paint and it will need a second pass. It is a slow process but can also be meditative if one can start from a mindful place. It takes practice to move quickly using the freehand method. Go slow at first and eventually it will be second nature.
My favorite brush to use for straight lines is from Proform. Their Picasso series brush is by far the best for getting perfectly sharp lines. The acid dipped tip releases the paint perfectly every time. Because of the oval shape the paint stays in the well of the brush and comes out smooth and predictably.
I hope you found this article helpful and If you have a project that requires sharp lines and need assistance please reach out!
We recommend a 2-step system, the first being a permanent isolation coat, followed by GOLDEN MSA Varnish, a removable varnish.
— GOLDEN Artist Colors, Painting Exterior Murals, Source
Project checklist
- Surface cleaned + primed
- Layout method chosen
- Palette tested on wall
- Painting sequence planned
- Protection/maintenance plan set
FAQ
Can you paint a mural on any wall?
Most walls can work if they’re properly prepared and the paint system matches the surface. Moisture and flaking paint are the two biggest red flags.
How do you keep the design accurate at scale?
Use a grid or projection to transfer key anchors, then check proportions early before you commit to detail.
Want help with a mural in the Bay Area?
If you want a recommendation for your wall (surface prep, paint system, timeline), send photos and rough dimensions and we’ll help you scope it.