Direct answer: Digital planning makes murals easier to sell and easier to paint: mock up the wall, test color/scale, and build a transfer plan (grid or projection) before paint hits the surface.
Quick takeaways
- Start with a straight-on wall photo with a known measurement in frame.
- Design at the right aspect ratio so nothing “creeps” during transfer.
- Create a simplified value map (lights/mids/darks) for painting order.
- Export a clean line layer for transfer.
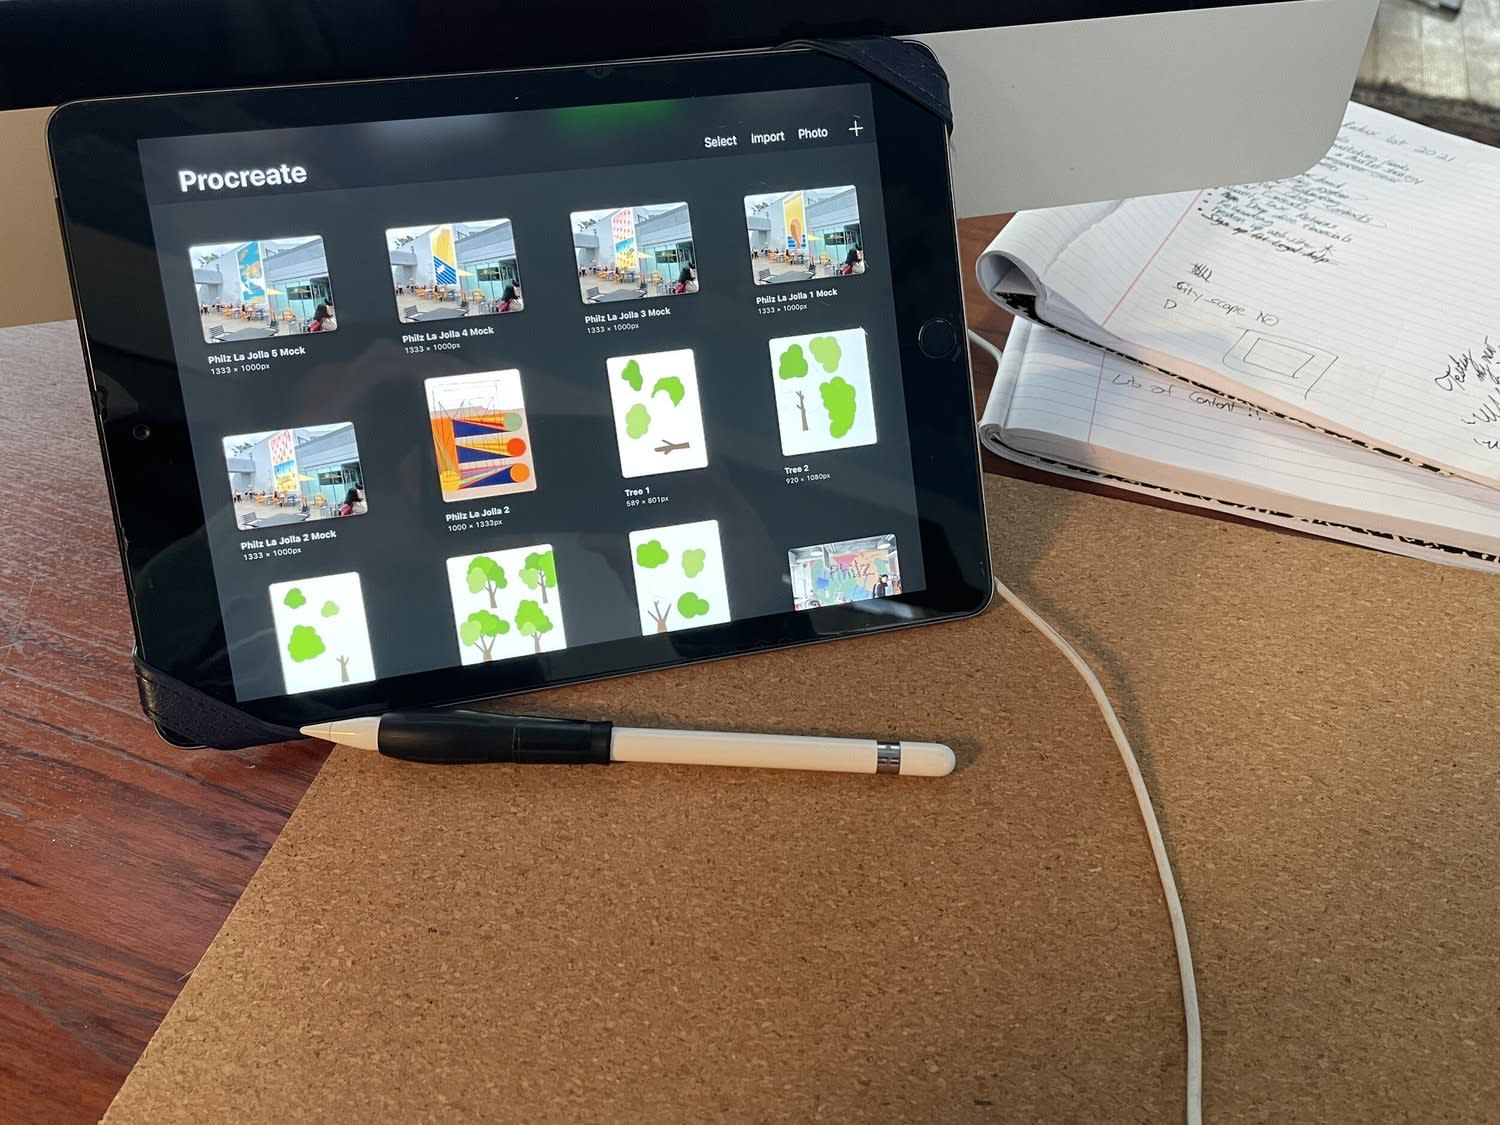
Hey all! Today I am going to start out the first in a series about how I use the app Procreate with my ipad and Apple pencil.
Procreate is the complete art studio you can take anywhere.
— Procreate, Procreate for iPad, Source
Project checklist
- Wall photo + reference measurement
- Design locked to final dimensions
- Palette chosen + test swatches planned
- Transfer plan (grid/projection) chosen
- Print/export line art + key anchors
FAQ
Do you need an iPad to plan a mural digitally?
No—any tool that lets you mock up scale and color works. An iPad workflow is common because it’s fast on site.
What’s the biggest digital-to-wall mistake?
Designing without a measurement reference. One missing dimension can throw off scale when you transfer.
Want help with a mural in the Bay Area?
If you want a recommendation for your wall (surface prep, paint system, timeline), send photos and rough dimensions and we’ll help you scope it.